
BACKGROUND
I’ve been riding motorcycles for about 5 years, and pretty much every ride have used Geo-Tracker to record the GPS co-ordinates of the route and create a KML file of the route (which I store in Google Drive). I was interested in finding new areas to explore so wanted to view all of the areas I’ve ridden, and highlight areas I’d missed.
Below is the map I had at the end of this process, which was created in Google Earth Pro (the Windows version – it’s free). Each line is coloured by the year the route was made.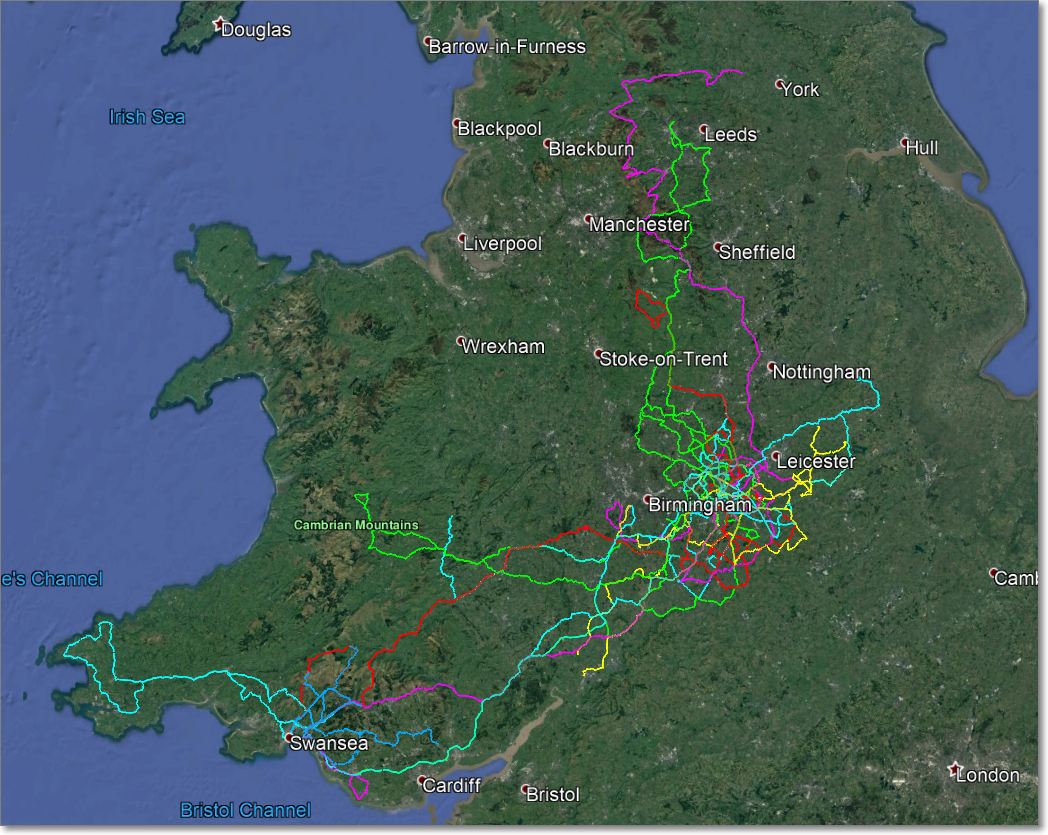
As you can see I live in the Midlands, near Coventry. Below is a close-up of that area, plus I’ve highlighted with yellow circles areas that I’ve not ridden: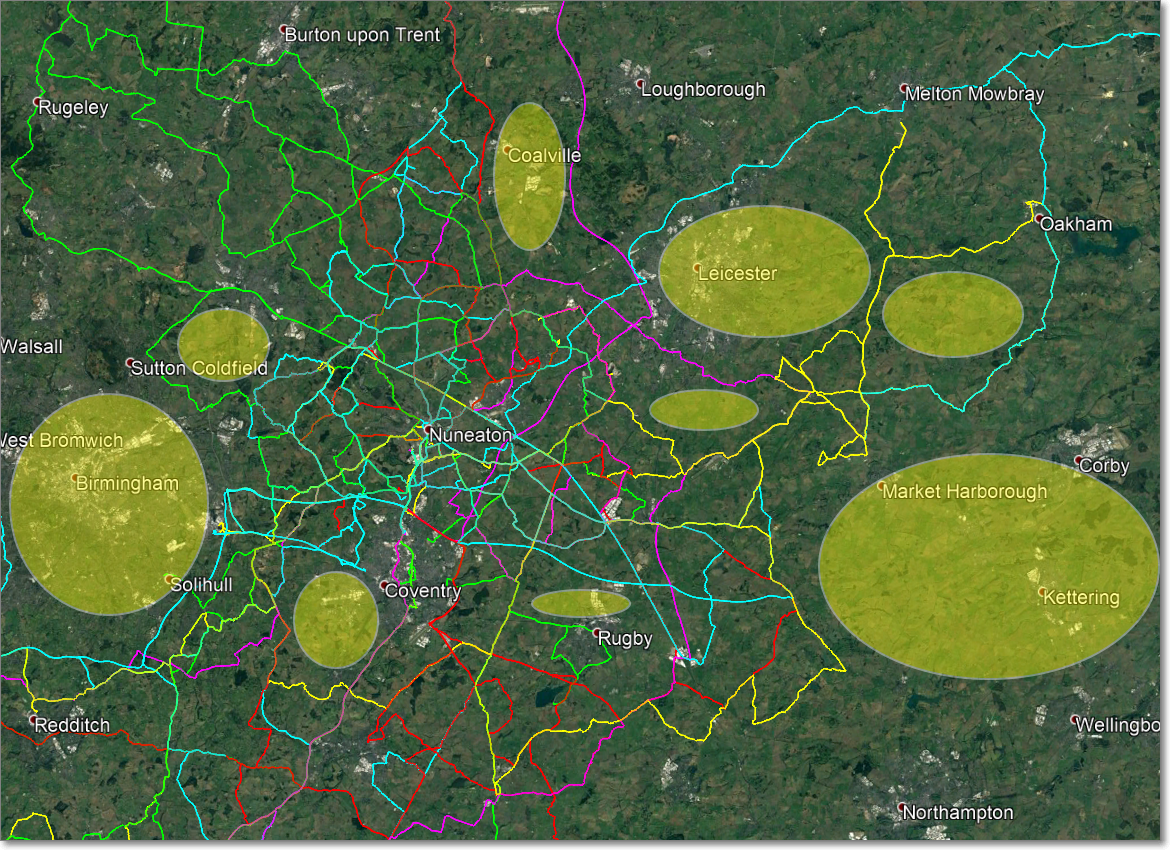
THE PROCESS
I found it easier to group all the KML’s I have by year and then put them into separate folders. You don’t need to do this and can use with a single folder of KML’s if you wish.
Convert multiple KML’s to KMZ
This simply packages multiple KML’s into a single KMZ file which makes the routes easier to handle in Google Earth.
Install and Start Google Earth Pro, and add a new Folder (either call it the year, or if not grouping by ear something like ‘ROUTES’):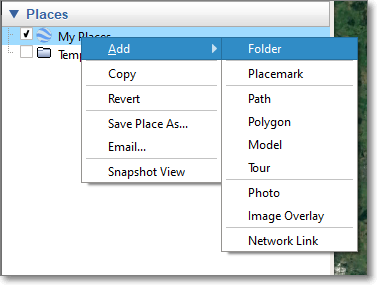

Then, select all of your KML files for that year and drag them exactly onto the new folder. You should now have something like: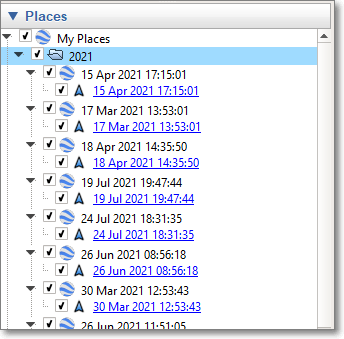
Right-click on the year and then ‘Save Place As’, then enter the file name and save. Then, right-click on the year again, click ‘Delete’ and click on OK.
Follow this process for all the years you want to process or just the one route if you prefer
Add all KMZ’s to Google Earth
Still in Google Earth Pro, there should be no folders, so create a new one. I call it ‘By Year’.
Then, drag all of the KMZ files (NOT the KMLs) onto this folder.
Then click on the right arrow symbol next to each sub folder to minimise it:
Double-clicking on the folder ‘By Year’ should show all your routes on the map, the next step is styling and colouring these.
Styling and Colouring
To change the widths of all lines, and remove the yellow pin (icons) right-click on ‘By Year’, then ‘Properties’. Click on the tab ‘Style Color’, then the button ‘Share Style’.
Change the highlighted values as below:
Click OK and OK.
For each year, right-click on it, then ‘Properties’. Click on the tab ‘Style Color’, then click on the Color to change it. Click OK and OK.
Final Steps
On the Layers section I turn them all off except for ‘Labels’ as it looks cleaner, but you can show ‘Places’ or ‘Roads’ if you prefer:
For easier viewing in Google Earth Pro I prefer the top-down view, the keyboard shortcut for this is ‘u’. Here are other Google Earth Pro keyboard shortcuts.
Closing Thoughts
I store and add new areas to explore in a Google My Maps, and for route planning, and navigation I use Google Maps on my phone with one headphone plugged in.
Photo by José Martín Ramírez Carrasco on Unsplash
